Related Parts
View More
Exploring the Possibilities of ATMEGA8A-AU Microcontroller and Its Application in Robotics
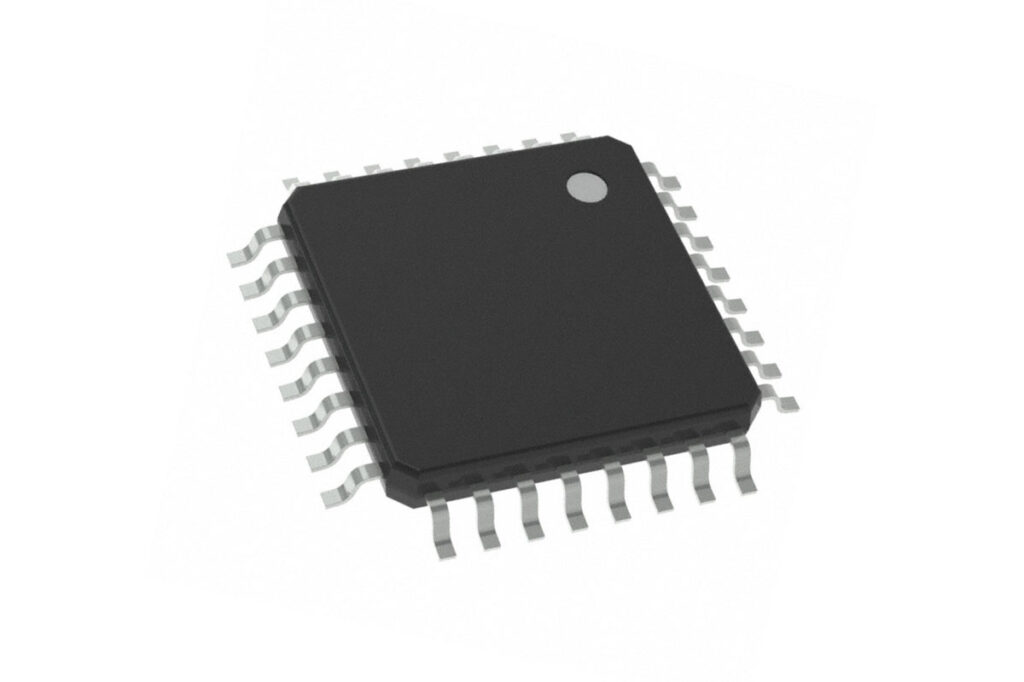
The ATMEGA8A-AU Microcontroller is a powerful and versatile device, capable of providing complex control and automation capabilities to robotic systems. This microcontroller has the ability to handle complex tasks such as sensor detection, motor control, and communication with other systems. It also offers flexibility in programming, allowing users to customize their robots to meet specific needs. With its wide range of features, this microcontroller is an excellent choice for robotic systems. This article will explore the possibilities of ATMEGA8A-AU Microcontroller and its application in robotics. It will discuss the benefits of using this microcontroller, the different types of robotic applications that can be built with it, and the necessary steps to get started. By the end of this article, readers should have a good understanding of the features and capabilities of this microcontroller and how it can be used to build powerful robotic systems.
Benefits of using ATMEGA8A-AU Microcontroller
The ATMEGA8A-AU Microcontroller is a general-purpose device, which means that it can be used in a wide range of applications. This broad applicability makes it an excellent choice for robotic systems. Some of the benefits of using ATMEGA8A-AU Microcontroller are discussed below: – Robustness and Wide Operating Voltage: The ATMEGA8A-AU Microcontroller can operate at a wide range of voltages, from 2.0 to 5.5V. It can function in harsh environments and withstand high impact and vibration. These are some of the reasons why it is used in space missions. – Low Power Consumption: The ATMEGA8A-AU Microcontroller consumes very less power, which makes it suitable for battery-powered systems. – Compact Size: The ATMEGA8A-AU Microcontroller is compact in size, making it suitable for systems that require minimal or no space. – Low Cost: The ATMEGA8A-AU Microcontroller is an inexpensive device, making it a preferred choice for most robotics applications.
Different Types of Robotic Applications Using ATMEGA8A-AU Microcontroller
The ATMEGA8A-AU Microcontroller has been used in a wide range of robotic systems. Some of the most common applications include: – Robotic Arms: Robotic arms are generally used for welding, dispensing systems, packaging, and pick and place systems. The ATMEGA8A-AU Microcontroller can be used for controlling the movement of robotic arms, sensors for detecting the position of the object, and actuators for controlling lifting, rotating, and movement of the arms. – Robotic Grippers: Robotic grippers are widely used in industries such as packaging, assembly, and material handling. They can be used to grip and hold parts, change tooling, and do machine tending. The ATMEGA8A-AU Microcontroller can be used for controlling the movement of robotic grippers and sensors for detecting the position of the object. – Pick and Place Systems: Pick and place systems are used to pick up parts from a surface and place them into a different container or area. The ATMEGA8A-AU Microcontroller can be used for controlling the movement of the robotic arm and sensors for detecting the position of the object.
Steps for Getting Started with ATMEGA8A-AU Microcontroller
Before getting started with ATMEGA8A-AU Microcontroller, it is important to understand the different components and their functions. The image below shows the components of the ATMEGA8A-AU Microcontroller and their functions. – VCC – This pin is the power supply pin and it is used to send power to the microcontroller and other components connected to the board. – GND – This pin is the ground pin. It is used to send and receive signals to other electronic systems. – RESET – This pin is used to reset the microcontroller. – MOSI – This pin is used to send data to the microcontroller. – SCK – This pin is used to synchronize data communication between the microcontroller and other electronic systems. – MISO – This pin is used to receive data from other electronic systems. – XTAL1 – This pin is used to provide clock to the microcontroller. – XTAL2 – This pin is used to provide clock to the external system. – AREF – This pin is used to provide reference voltage to the analog pins of the microcontroller. – GND – This pin is used to send and receive ground signals to other electronic systems. – PWR – This pin is used to provide power to the microcontroller.
Programming ATMEGA8A-AU Microcontroller
When programming ATMEGA8A-AU Microcontroller, it is important to understand the basics of programming and the programming language used. The picture below shows the various steps to learn and write code for ATMEGA8A-AU Microcontroller: – Choose ATMEGA8A-AU Microcontroller: First and foremost, choose the type of microcontroller to be programmed. There are many chips available in the market, each having specific features, capabilities, and applications. Once the type of microcontroller is selected, it is important to ensure that it can be programmed on the system that is being used. – Install the IDE: Once the microcontroller has been selected, the next step is to install the IDE. There are several IDEs available, such as Keil, CodeVision, IAR, and others. Choose the one that is compatible with the operating system of the system being used. – Set Up the Project: Once the IDE is installed, the next step is to set up the project. There are two ways to do this – either manually or by selecting the pre-defined options in the IDE. – Write Code: The next step after setting up the project is to write code for the project. This can be done either manually or by using a code editor. – Compile and Upload Code: Once the code is written, it has to be compiled and uploaded to the microcontroller. This can be done manually or by using a programmer.
Testing and Debugging ATMEGA8A-AU Microcontroller
After the code is written, it is important to test and debug the code to ensure that it is working as expected. Testing can be done in two ways – Debugging and Debugging. Debugging is the process of identifying and removing the bugs in the code. It is also known as troubleshooting. Debugging can be done either by single stepping or breakpoints. By single stepping, the code is executed one line at a time, making it easier to identify the issue. Breakpoints are points in the code that are intended to be paused whenever they are reached during execution. It is also possible to test the code using a simulator. Debugging is necessary to ensure that the code works as expected before it is implemented in the real-life system. It is important to test the code thoroughly to avoid any issues during implementation.
Tips and Tricks for Working with ATMEGA8A-AU Microcontroller
Some of the tips and tricks for working with ATMEGA8A-AU Microcontroller are listed below: – Keep the circuit design as simple as possible: The circuit design should be kept as simple as possible to avoid complexities while writing code and debugging. Complex designs are difficult to understand and debug. – Check the connection of components before powering on the circuit: Before powering on the circuit, make sure that all the components have been connected properly. – Use a good quality microcontroller: It is important to use a good quality microcontroller for the project. A low-quality microcontroller may not give accurate results or may not work as expected. – Use a good quality breadboard: A breadboard is an electrical device used to make temporary connections between components in a circuit. It is important to use a good quality breadboard to avoid issues with the circuit.